I switch between machines a lot, and I’ve been chasing a simple thing lately: a workflow that stays consistent across devices. Run it once, preview it everywhere, iterate fast.
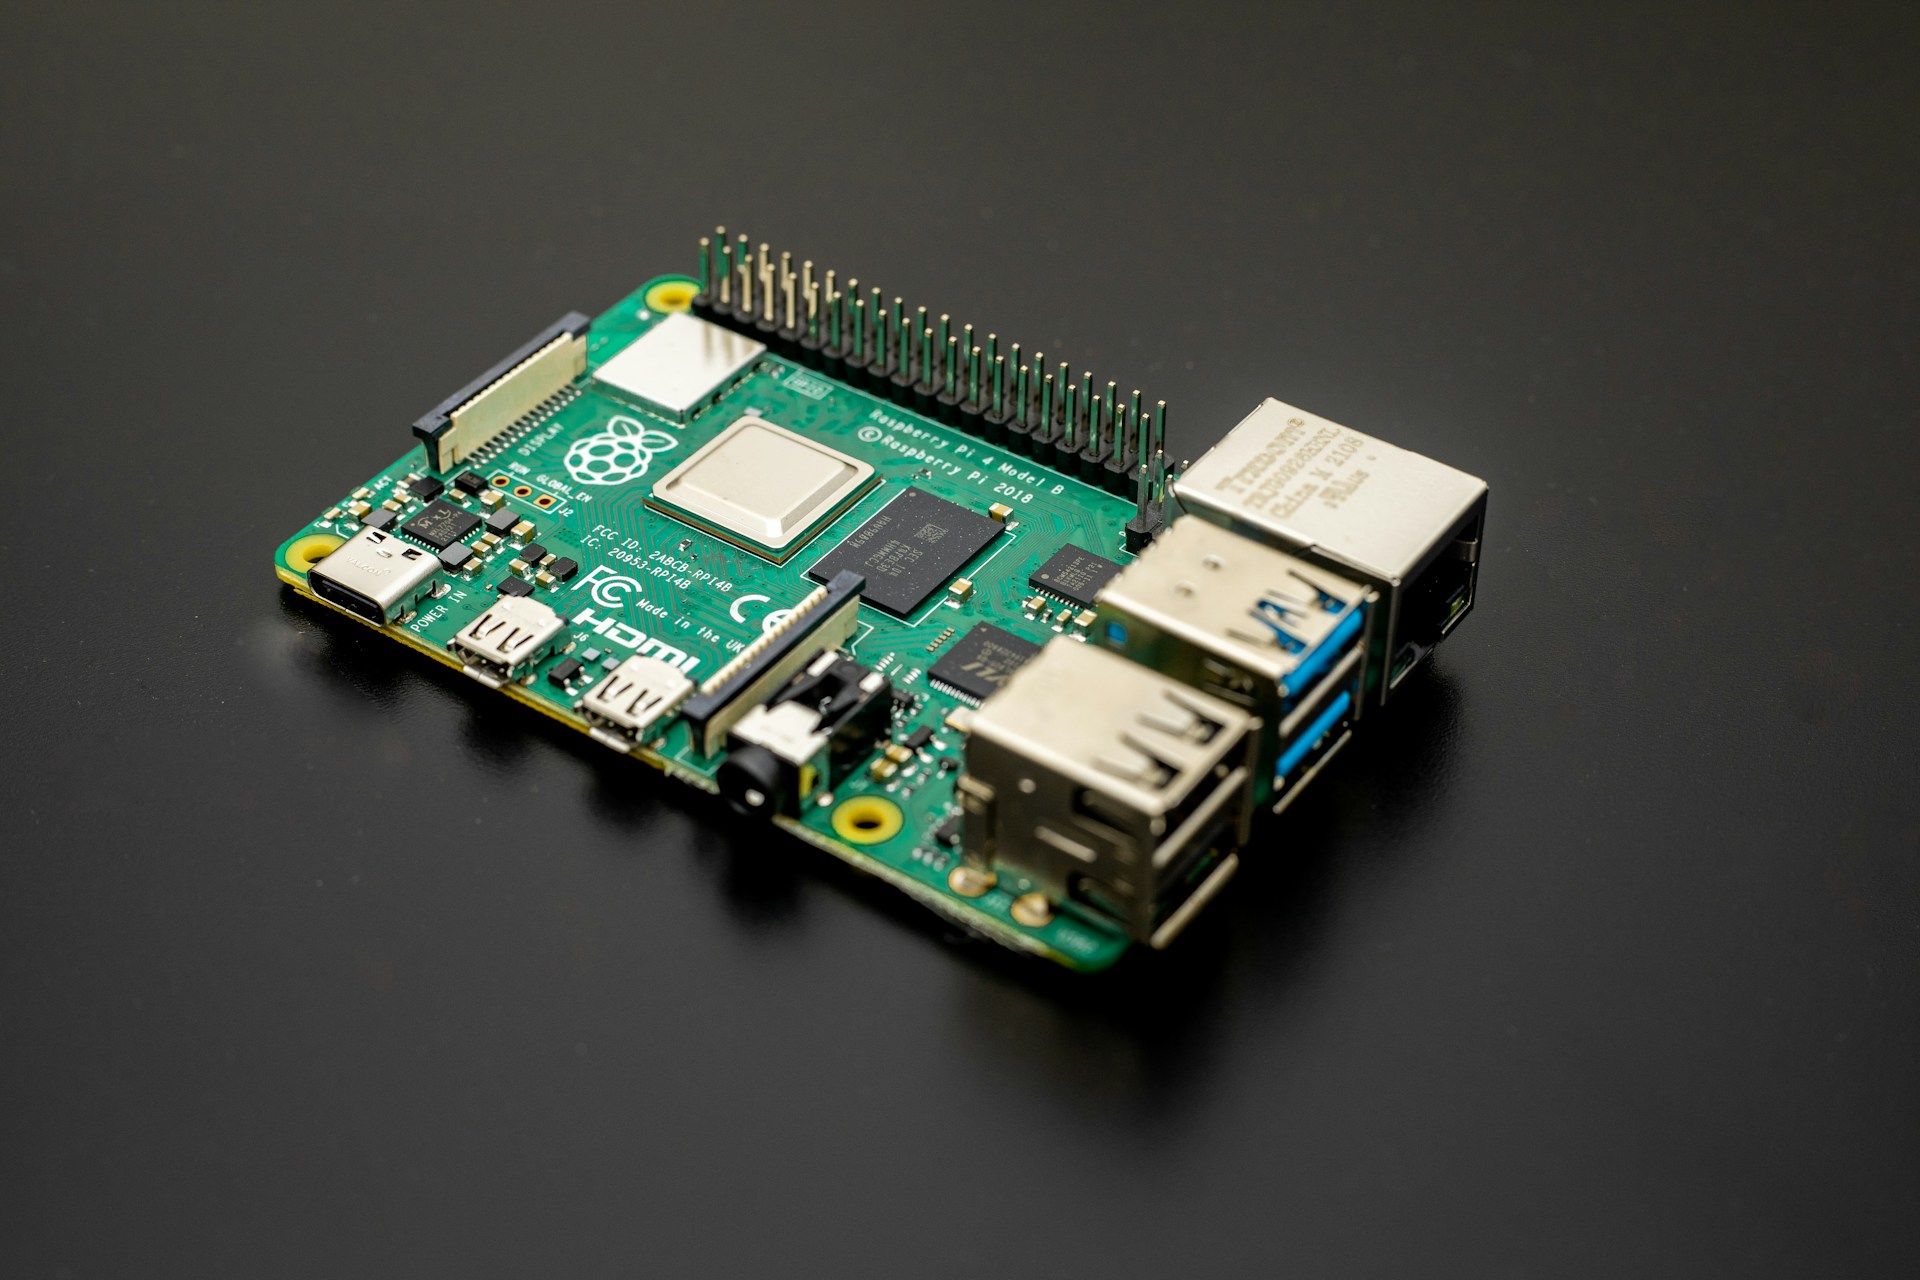
This week I set up a Raspberry Pi 5 as my source of truth. One place to run projects and previews, no matter which machine I’m on.
I’m a Product Designer, not a sysadmin, but I’ve been enjoying the infrastructure side of things more than I expected. The pattern feels familiar: make things understandable, reduce friction, keep it maintainable.
Rule number one: everything lives in /srv
The first decision wasn’t about Docker, tunnels, or monitoring. It was about structure: clean folders, no random files scattered around, and a layout I can replicate later.
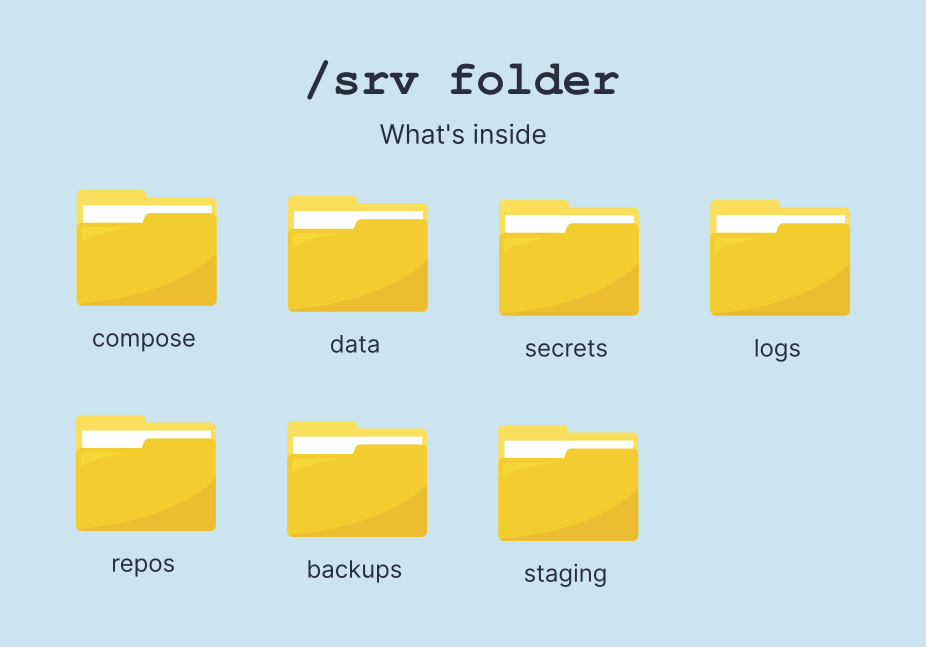
So I standardized everything under /srv, with a simple mental model:
compose/for stacks and docker compose filesdata/for persistent volumes and app datasecrets/for anything sensitive (tokens, credentials, URLs)logs/for logs that I actually want to keeprepos/for git repositories and working treesbackups/for snapshots, old configurations, etcstaging/for live previews: a small “deployment sandbox” where I run dev builds and test changes fast without touching the main services
This alone removed a lot of mental load. When something breaks, I know where to look.
The core stack
Here’s what I’m running so far:
- Portainer to manage containers in a visual way
- Caddy as a reverse proxy (clean routing, easy config)
- Cloudflared + Cloudflare Access to expose selected services without opening ports, while keeping some of them behind authentication
- Uptime Kuma to monitor my websites and Blur FM streams (it sends alerts via a Telegram bot if something goes down)
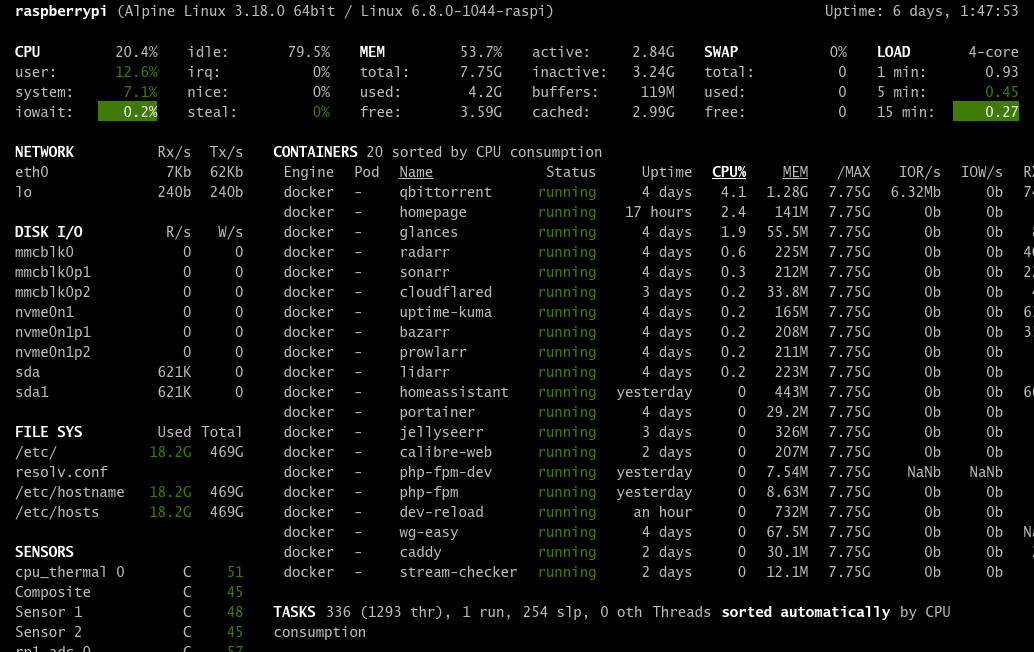
- Glances for quick system health checks (CPU, RAM, disk, network)
- PHP-FPM for a lightweight PHP setup (and a separate dev flavor)
- Home Assistant as a fallback for Alexa and Google Home
- Homepage as the dashboard (my “home screen” for the Pi)
- A couple of small utility containers for development and my own scripts
The interesting part is the workflow these containers enable. I didn’t want to “run services”, I wanted to see them. As a designer, this feels like interface design: reduce time to understanding, reduce time to action.
Remote access with Tailscale and Cloudflare
With Tailscale, the Pi feels like it’s part of my home network even when I’m away. I can SSH in, open dashboards, or reach internal services as if I was on Wi-Fi at home.
A few features that I really like:
- MagicDNS: instead of memorizing IPs, I can use simple hostnames on my tailnet.
- Exit Node: when I’m on public Wi-Fi, I can route my traffic through my home network with a toggle. Useful when I want a consistent, trusted path.
- Subnet routing: the Pi can advertise my local LAN routes, so I can reach devices that aren’t on Tailscale (or services that I only expose on the LAN) without opening ports.
For anything that needs to be reachable from the public internet, I use Cloudflare Tunnel. It lets me publish a few endpoints without opening router ports, while Caddy handles clean routing and reverse proxying on the Pi. For “public but not open” dashboards, I add Cloudflare Access on top, so they require authentication even though they’re accessible via a normal browser URL.
One workflow: VS Code Remote SSH + stable dev URLs
This is how the Raspberry Pi became my source of truth. Using Visual Studio Code Remote SSH, I open the project directly on the Pi, run everything there, and keep my local machine as the “client”: editor, browser, and a keyboard.
To make the loop even smoother, I created two stable entry points: one for development previews (the fast iteration loop), and another for a live preview server that serves static files with automatic reload, so I can test changes across different devices instantly without rebuilding anything.
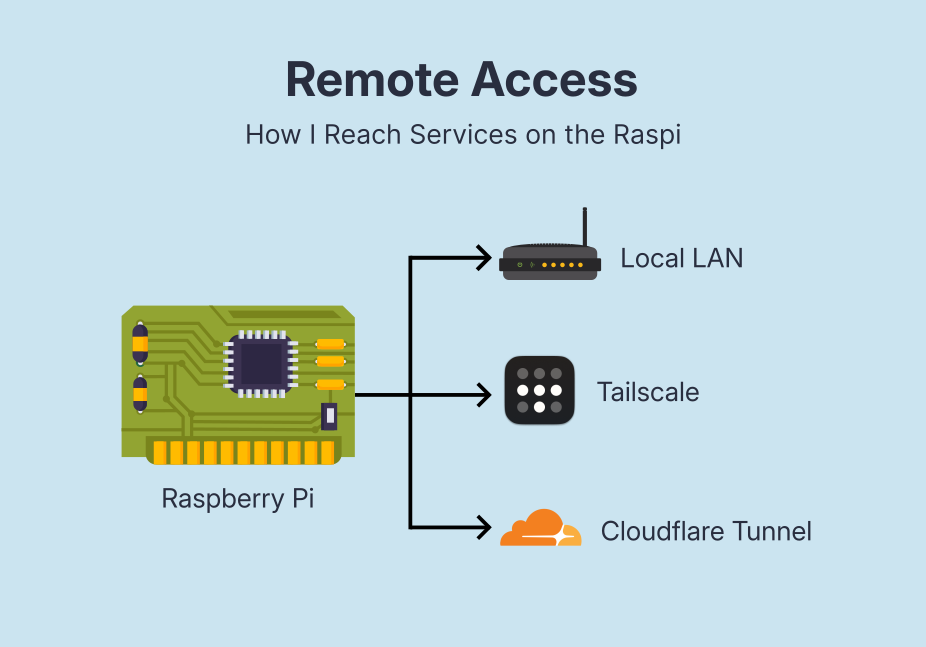
Depending on where I am, I can reach the same services in different ways: Local LAN when I’m home, Tailscale when I’m away (private access without exposing ports), and Cloudflare Tunnel + Cloudflare Access for a few PHP/static endpoints that I want reachable via a normal browser URL, but still protected behind authentication.
The most wonderful part: the Pi isn’t just running services, it’s enabling a centralized workflow optimized for fast feedback and multi-device validation.
Week one takeaways
Working across multiple devices used to mean small frictions everywhere: where the project is running, whether I’m looking at the latest version, and how to access things safely when I’m away. Now the Pi is my source of truth. I connect to it, run everything in one place, and treat my laptop (or any device) as the client.
This is the kind of tech hobby I’m enjoying the most lately: not gadgets for the sake of it, but small infrastructure that makes everyday work smoother.


